


The first thing which comes to mind after the completion of your first application development is ‘How To Publish App To Play Store?.’ Publishing for the first time may be thrilling and tricky. Don’t worry.
In this article you will read step by step App release process on the Play Store Publish that is no doubt the leader in the number of published apps and users.
So now, let’s start with publishing your very first app following play store submission guidelines.
Step by Step Procedure for publishing your application in Google Play Store.
Requisites
- Have an App!
- A unique Package name of your App to represent it
- A signed APK release. This requires a signing certificate. For more info click here.
- If your app is too big, you will require an APK expansion files to break it up into parts so it can be uploaded (the maximum size for an APK is 100MB)
Note: Important: From August 2021, new apps will be required to publish with the Android App Bundle on Google Play. New apps larger than 150 MB are now supported by either Play Feature Delivery or Play Asset Delivery.
Check here: Google play expansion files
- You need to be signed up to Google Play Console and be a Play publisher.
If all of the above is marked off, now it’s time to submit app to play store.
Step 1- Get your app information ready
- Log in into the Google Play Console using your Play publisher account.
- To build an application, select All applications in the left-hand menu.
- Click on Create Application to begin creating your app.
- Choose a language and enter the title for your app (limit of 50 characters). And proceed by clicking Create.
- On the next page shown below, you’ll add all the related information about your app.

- Short description:
A summary of your app. This will be exhibited on the app’s Google Play Store listing and is crucial for convincing people to download your app. You have a maximum of 80 characters. Pack the most influential and fascinating information in the first three lines.
- Full description:
Go into more extended details about your app. You have a maximum of 4000 characters. Highlight benefits and key characteristics. This is displayed when a user opens your app’s store listing.
- Screenshots:
Quintessential to show your app in action. Click Add screenshot and upload screenshots of the application developed. You are obligated to upload at least two screenshots, but intend for seven or the maximum of eight for the best results and put the best ones at the beginning. To get featured in the Play Store’s “Designed for tablets” list, upload screenshots of your app running on a 7-inch and 10-inch tablet.
- Hi-res icon:
This is the icon that will be exhibited in Google Play Store and on your users’ devices when downloaded.
- Feature graphic:
This is labeled as optional even though it’s necessary since your app cannot be featured anywhere on the Google Play Store without a feature graphic. Aim for a bold, vivid, and simple image that supports your brand with minimal writing.
- Video link:
You can add a link to a video of your app. This can only be a YouTube link.
Check here: Add preview assets to showcase your app
- Application type:
Whether it is an app or a game.
- Category:
Business, travel, education, etc.
Before you move further just make sure all the information you gave is correct and you are missing nothing. Click on Save Draft to save your app information and move onto the further steps.
Step 2- Upload the APK or app bundle files for your app
After you are assured of all the requirements (unique Package name, signed app release, and expansion files in the case of a large app) required to publish your app, it’s time to upload the files before release. Now to do this, you have to go to the App releases section from the left menu.
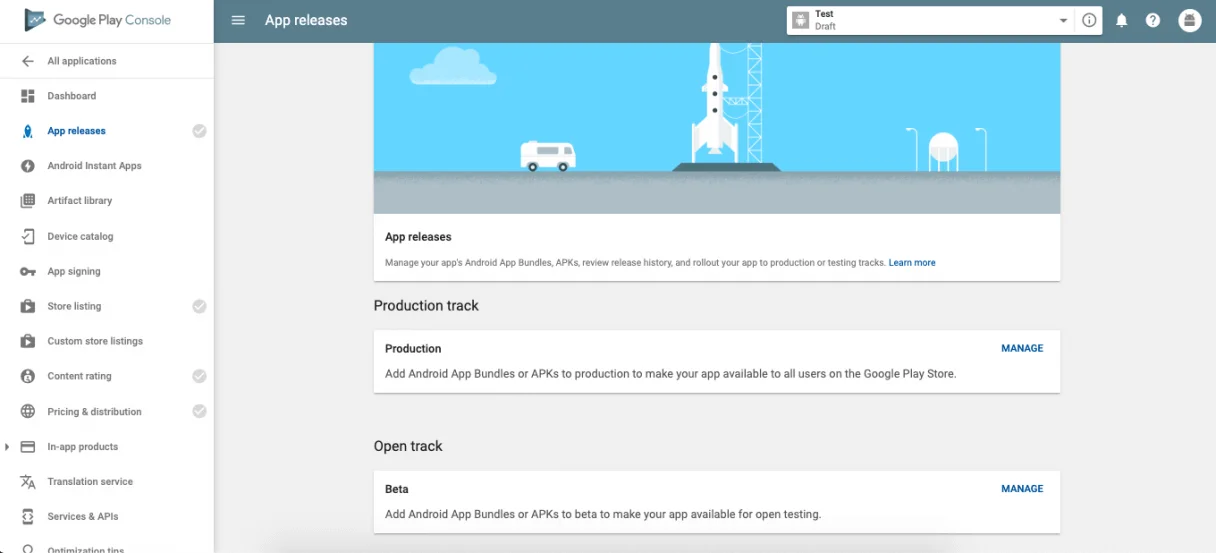
You are given a course of action of the type of release. Production is the final release to submit a live version of your application and finally upload app to Play Store. Beta and Alpha releases allow you to test your app and receive valuable feedback to make improvements to your app before you upload apk to google play store
After selecting the type of release, you will then be redirected to the next page. Click on Create Release to go to the New release production page.
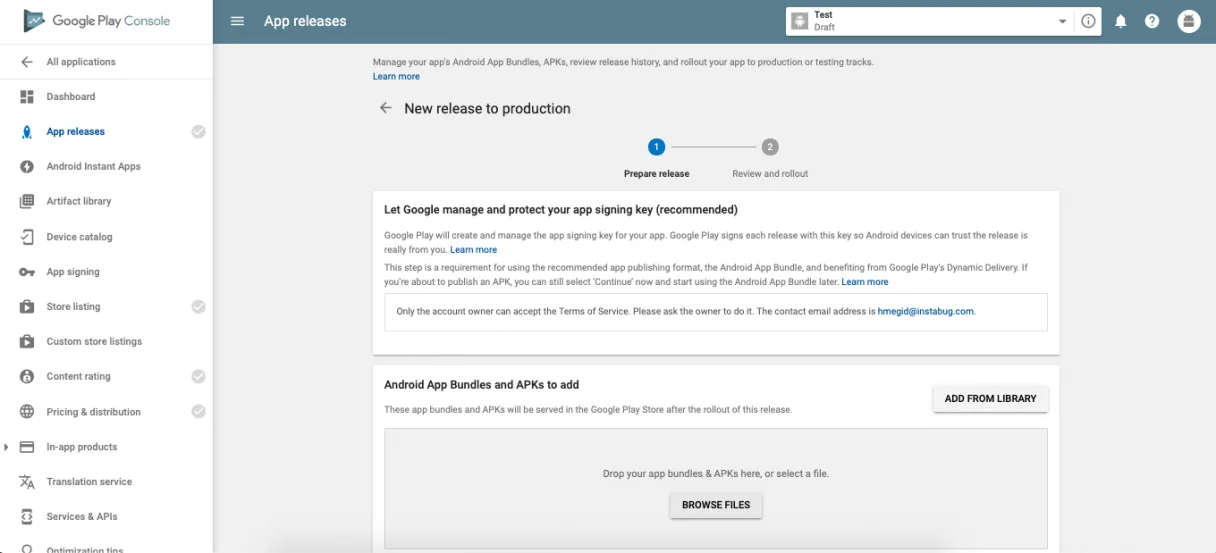
- Choose if you want to use Google Play app signing on your app or click on OPT-OUT to ignore and sign in locally.
- Click on Browse Files.
- Select your app’s APK or App Bundle files to upload.
- Click on Review present at the bottom right of the page. This confirms and submits your app’s release data.
Prior to sending your app out into the wild, it needs a content rating and a distribution and pricing plan.
Step 3- Set your app’s content rating
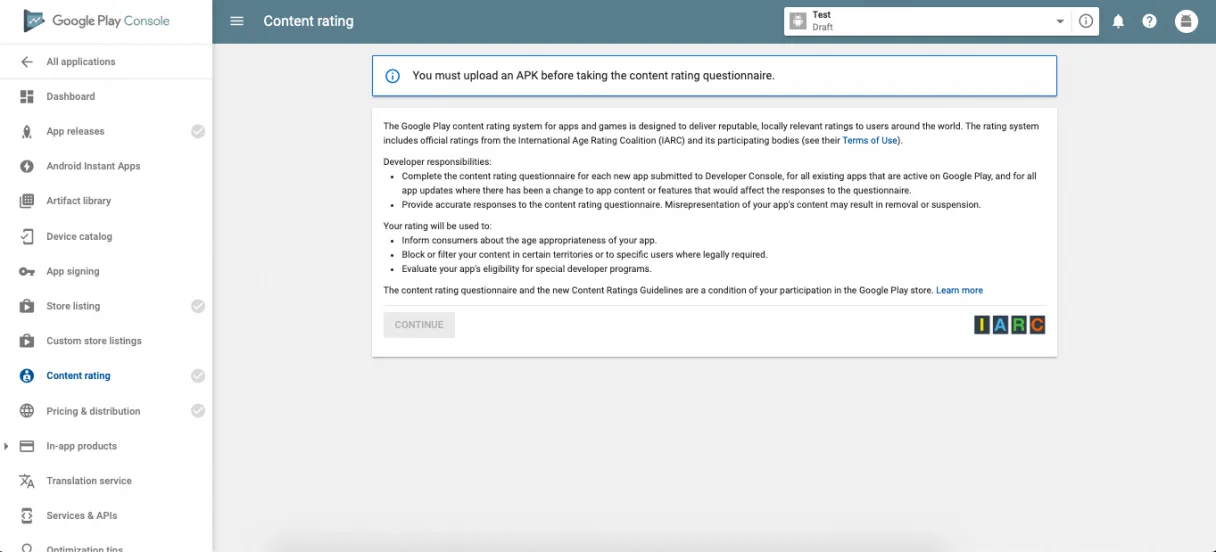
To set your app’s content rating, you will need to go to the Content rating page from the left menu.
- Click on Continue.
- Enter your email address and confirm it.
- From the options, choose your app category.
- Next and start filling in the survey for your app rating. This is usually to help Google identify if there is any explicit content in your app.
- Click on Save Questionnaire.
- Click on Calculate Rating. This will show you the rating of the app that your app will have on the Play Store.
- Click on Apply Rating to verify your app’s content rating.
Step 4- Set pricing and a distribution plan
If you plan that the users pay for the app then you will have to set the pricing. Also, your app can be distributed to selected countries you want instead of a worldwide release. Go to the Pricing & distribution page from the left menu.
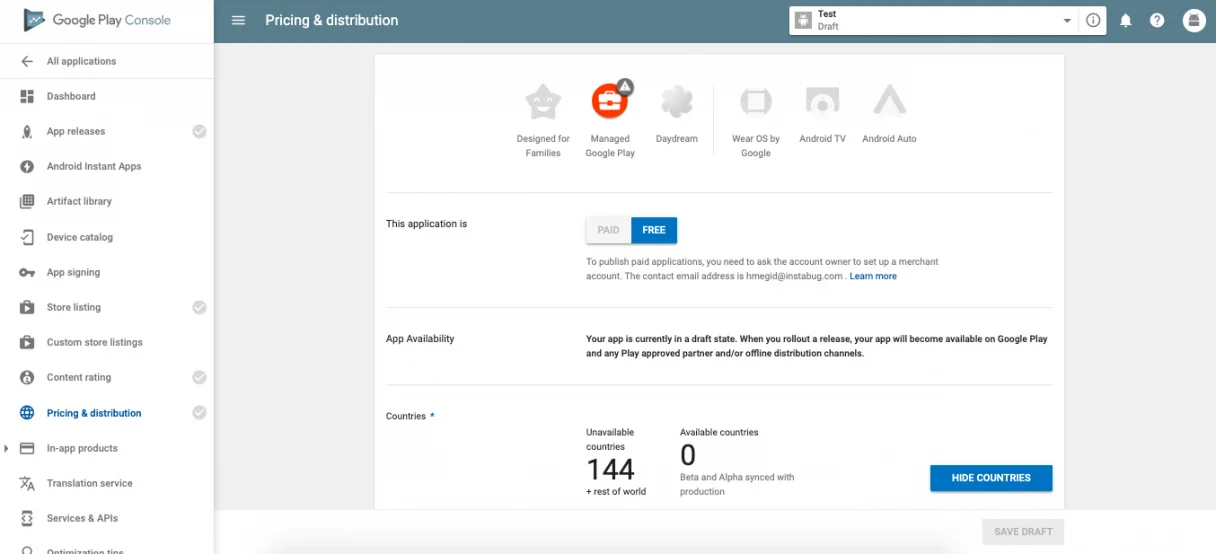
- Choose whether you want your app to upload app to google play store FREE or PAID. Select Available for the countries you want your app to get released in. Select the Unavailable option differently.
- If your app is suitable for youngsters under the age of 13, select Yes for Primary Child-Detected. Else, select No.
- If your app contains ads, check Yes for Contains ads. If not, check No.
Step 5- Publish your app
Now that the entire play store submission checklist is completed we are ready to release the app, go back to App releases from the left menu.
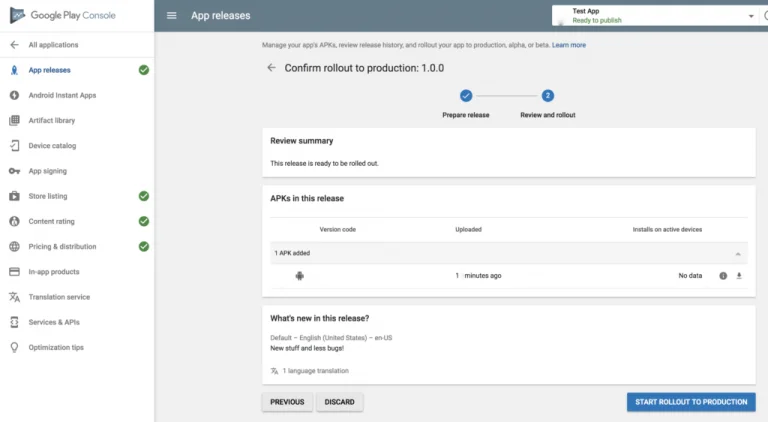
- Click on Manage Production (or if you’re releasing a beta or alpha build select that instead).
- Click on Edit Release.
- Then click on Review present at the bottom right of the page.
- Click Start rollout to production to finalize.
- Finally, click Confirm when prompted.
Congratulations! You have now successfully published your app, and it will send all the information to Google for review. Within the next two hours, your app should be shipped and published on the Google Play store in the countries that you’ve opted for.


